Compare three picks in each category by what fits your space. Open any buying guide for measuring tips and a way to try the layout before buying.
As an Amazon Associate I earn from qualifying purchases.
Storage
Under-sink organizers
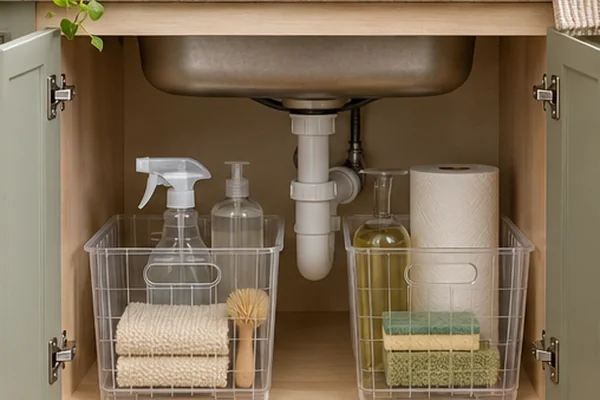
Measure three separate areas: the cabinet opening, the floor on either side of the drain, and the height under the lowest pipe. Trace the pipe and valves on paper so you can compare the available floor space with a product drawing.
One narrow pullout can work on the side where the plumbing leaves a straight path. Two lift-out bins can make more sense around a center drain or a cabinet with a center stile. Check the full extension of any slide, including its handle.
Try it first. Use two cardboard boxes as mock bins. Put your tallest bottle in one and check that you can lift it out without pulling the box forward or reaching around plumbing.
The shelf expands from 15.75 to 25 in. wide and is 11.75 in. deep. The removable shelf panels can leave a gap for a drainpipe. Check for 15.25 in. of height where the frame will sit.
I may earn a commission if you buy through this link.View on Amazon
A clear side bay
madesmart 2-Tier Organizer with Dividers
The two removable baskets divide small supplies. Measure the bay at its narrowest point and check the path each basket takes as you pull it out.
I may earn a commission if you buy through this link.View on Amazon
A cabinet with room for a mounted slide
Lynk Professional Under-Sink Pull-Out Organizer
The pull-out brings supplies to the front. Check the cabinet floor for the mounting frame and make sure the pull-out clears the door, hinges and plumbing.
I may earn a commission if you buy through this link.View on Amazon
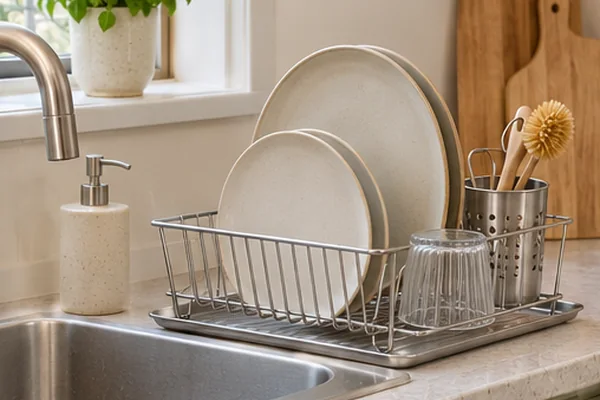
Measure the flat surface between the sink and the wall, including any splash lip. For an over-sink model, measure the span between its actual support points and check whether the faucet handle can still swing.
A tray-style rack gives dishes a dedicated spot. A roll-up rack can be put away after a small wash. Consider where water drains and how much of the sink you need clear for larger pans.
Try it first. Lay a towel the size of the rack where it would sit. Stack the dishes from a typical meal there and see whether the remaining counter and sink space work for cleanup.
The small warm-gray mat measures about 17.5 × 13.1 in. It rolls away after use. Measure the sink opening and check that the rack can rest securely on both sides.
I may earn a commission if you buy through this link.View on Amazon
A dedicated drying spot
Sakugi Compact Stainless Steel Dish Rack
The base is listed at about 15.6 × 12 in. Check that the drainboard can empty toward the sink without crossing a raised rim.
I may earn a commission if you buy through this link.View on Amazon
A narrow counter beside the sink
Brabantia Compact Dish Drying Rack
The rack has a long, narrow profile and a drip tray. Check the full tray length against the counter and leave room to lift the utensil holder.
I may earn a commission if you buy through this link.View on Amazon
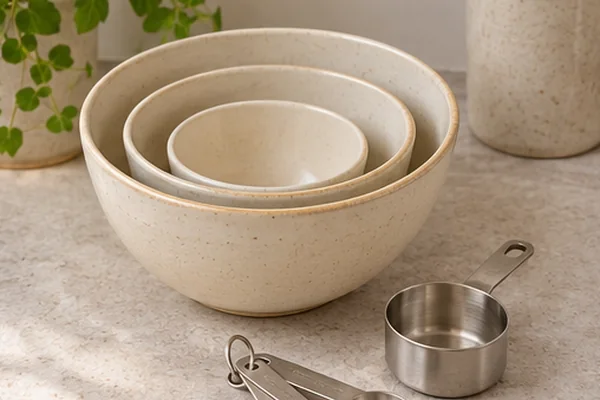
Measure the widest bowl at the rim, the full stack height, and the cabinet opening. Include lids, tabs, and pouring spouts when you compare the listed dimensions.
A set that nests tightly can reclaim shelf space. Separate pieces can be easier to use if you often need the middle bowl and would have to unload a stack every time. Sets with attached storage lids can save a second container after prep.
Try it first. Pull out the bowls you used for the last few meals. Stack only those and note which sizes are missing, duplicated, or too awkward to lift out.
Two mixing bowls, a colander, a sieve, and five measuring cups store as one stack. Check that the widest bowl clears the cabinet opening, including its handles.
I may earn a commission if you buy through this link.View on Amazon
Prepping and covering ingredients
Cuisinart Stainless Steel Mixing Bowls with Lids
The 1.5-, 3- and 5-quart bowls have matching lids. Measure the widest rim and plan where to store the lids when the bowls are nested.
I may earn a commission if you buy through this link.View on Amazon
Pouring batter and dressings
OXO Good Grips 3-Piece Mixing Bowl Set
Three bowls nest for storage. The handles and pouring spouts project past the round portion, so check their clearance at the cabinet opening.
I may earn a commission if you buy through this link.View on Amazon
Storage
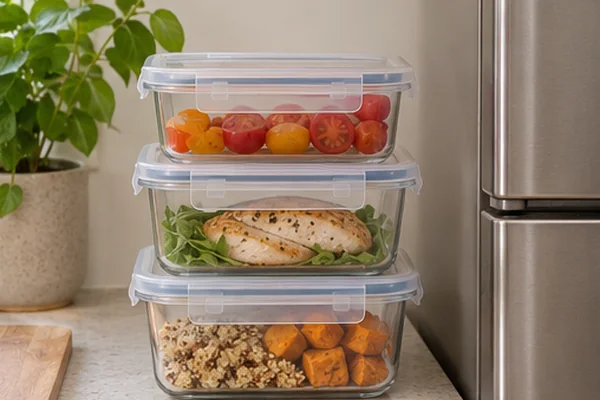
Stackable food containers
Measure shelf depth with the cabinet door shut. In the fridge, check how far door bins project into the shelf area. Include lid latches and handles in the footprint.
Rectangular containers can fill a shallow shelf efficiently. Sets that share a lid size cut down on sorting, while shapes that nest when empty use less cupboard space. Compare both the filled and empty stacks before buying.
Try it first. List the portions you store most often, such as a lunch, a dinner for two, and cut produce. Match each to a container you own to learn which capacities you actually need.
Five matching rectangular containers make it easy to build a stack of lunch portions. A set with several sizes may suit you better if you regularly store both small portions and full meals.
I may earn a commission if you buy through this link.View on Amazon
Larger portions
Rubbermaid EasyFindLids 5.5-Cup Meal Prep Set
The 5.5-cup containers give salads and full lunches more room. Check the height of a filled stack beneath your fridge shelf.
I may earn a commission if you buy through this link.View on Amazon
Leftovers in several sizes
Pyrex Simply Store 18-Piece Glass Storage Set
Nine glass containers come with lids. The set includes round and rectangular shapes, so check how the different footprints fit together on your shelf.
I may earn a commission if you buy through this link.View on Amazon
Storage
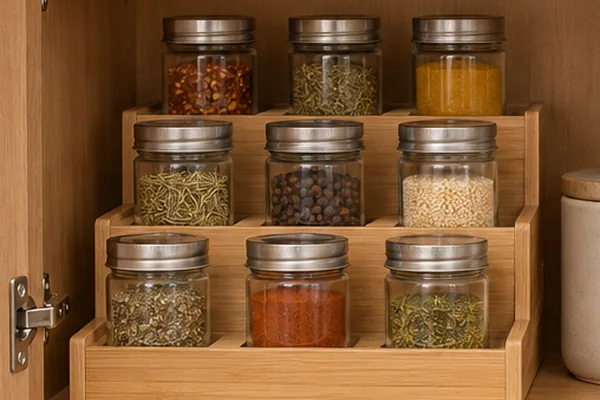
Spice racks for narrow cabinets
Measure the tallest and widest jars you use. For a tiered shelf, check the height of a jar on the back row and whether the front row blocks your hand. For a drawer insert, check clearance with a jar lying on the steepest part.
A tiered shelf makes labels easier to see from the front. An angled drawer tray does the same from above if the drawer fits a full row. A turntable works best when its round footprint leaves enough room for other items.
Try it first. Set out the spices you reach for every week. Put those in the easiest position and measure how much space is left for the rest.
The nominal 10-in. model is listed at about 10.5 in. wide and 8.75 in. deep. Measure your tallest jar on the highest tier and leave room to lift it out.
I may earn a commission if you buy through this link.View on Amazon
Bringing back-row jars forward
Copco 9-Inch Non-Skid Turntable
Use this 9-in. turntable where there’s room to spin. Test a paper circle on the shelf with the cabinet door shut and leave a little room for your hand.
I may earn a commission if you buy through this link.View on Amazon
Laying jars flat in a shallow drawer
YouCopia SpiceLiner 10-Foot Drawer Liner
Trim the liner to your drawer and lay jars with the labels facing up. Check whether the widest jar can pass under the cabinet face as the drawer closes.
I may earn a commission if you buy through this link.View on Amazon
Storage
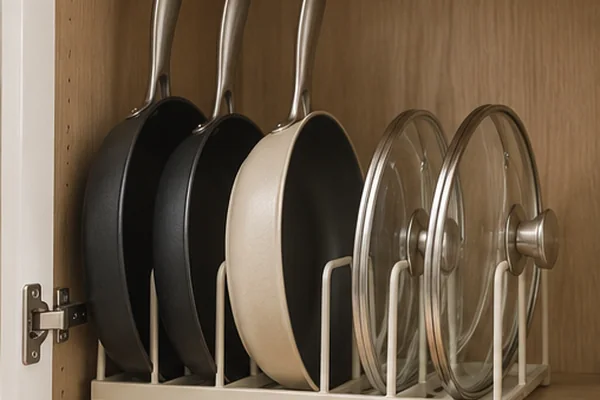
Dividers for pans and lids
Measure your deepest pan, including its handle, and your tallest lid with its knob. Check how much room you need to tilt each piece past the cabinet opening.
A vertical divider makes flat pieces easy to pull from a narrow bay. A horizontal shelf can work for heavier pieces if it gives each pan enough room to slide out. Compare the divider spacing with the thickest rolled rim or lid knob.
Try it first. Mark the divider spacing on a length of paper and hold your pieces up against it. If several need wider slots, choose adjustable spacing or give them a separate shelf.
Adjustable dividers let you give thicker lids more room. The rack starts at about 12.5 in. wide. Measure the height with your biggest pan standing upright, including its handle.
I may earn a commission if you buy through this link.View on Amazon
Storing flat lids and trays
Spectrum Euro Kitchen Organizer, Satin Nickel
The wire slots are fixed. Check the thickest rim or lid knob against a slot and leave enough height to lift the piece out at an angle.
I may earn a commission if you buy through this link.View on Amazon
Using a deep drawer
Joseph Joseph DrawerStore Expanding Cookware Organizer
The expanding organizer separates lids and trays in a drawer. Check the usable height with your tallest piece installed and the drawer fully closed.
I may earn a commission if you buy through this link.View on Amazon
Counter & sink
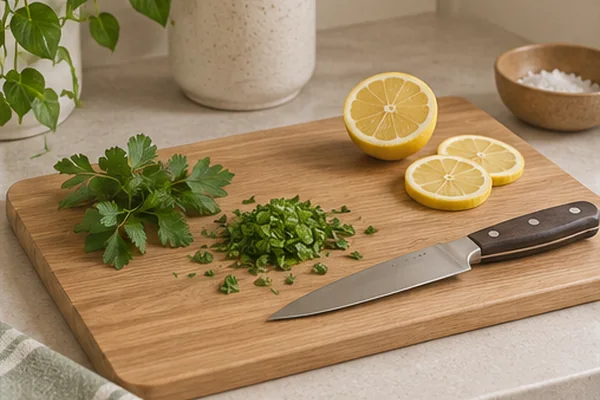
Cutting boards for limited prep space
Measure the largest flat working area you can leave clear next to the sink. Check where the board will stand or lie flat while drying and where it will live once dry.
A sink-fitting board can add prep space when the basin is idle, provided it sits securely on its intended supports. A smaller conventional board is easier to move to another part of the counter when you need the sink.
Try it first. Cut a paper template to the listed dimensions. Set a mixing bowl and a plate beside it and rehearse transferring chopped food without moving either dish to the stove.
The set includes a prep board around 7.25 × 10.75 in. and an everyday board around 9 × 12.9 in. Make a paper template for the larger board to check how much prep space it leaves.
I may earn a commission if you buy through this link.View on Amazon
Quick prep on a tiny counter
Epicurean Kitchen Series 8 × 6-Inch Cutting Board
The 8 × 6 in. board can fit beside a bowl or kettle. Use it for a lime or small garnish and keep a larger board available for bigger tasks.
I may earn a commission if you buy through this link.View on Amazon
Keeping a few sizes on hand
Totally Bamboo 3-Piece Bamboo Cutting Board Set
Use the smallest board for quick prep and pull out a larger one when you need more room. Check whether the whole set can stand upright in your cabinet.
I may earn a commission if you buy through this link.View on Amazon
Counter & sink
Compact coffee setups
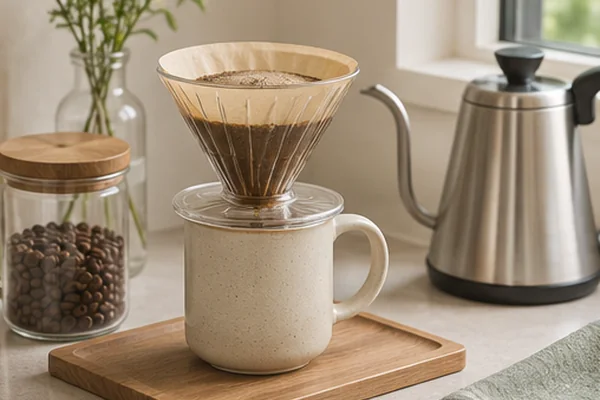
Measure the width and depth of a candidate spot, then check vertical clearance with the cabinet door open. Note where the machine or brewer fills, where the mug goes, and which parts need to come out for cleaning.
A manual brewer can go into a cupboard between uses if you already have an easy way to heat water. A compact electric machine earns its counter space if you can fill, brew, and empty it in place. Compare the full workflow footprint.
Try it first. Leave a paper footprint where the setup would live for a morning. Put a mug and your coffee container next to it and see whether the spot interferes with any other task.
The manual press packs into its own mug, so it can go into a cupboard between uses. It makes a small serving at a time and needs a separate source of hot water.
I may earn a commission if you buy through this link.View on Amazon
Brewing directly into a mug or carafe
Hario V60 Plastic Coffee Dripper, Size 02
The cone stores on a shelf between uses. Check that its base sits securely on your mug or carafe and leave room for filters and a kettle.
I may earn a commission if you buy through this link.View on Amazon
A narrow electric coffee station
Keurig K-Mini Single-Serve Coffee Maker, Oasis
The brewer is less than 5 in. wide. Measure the space above it with enough room to raise the lid and add water.
I may earn a commission if you buy through this link.View on Amazon
Cookware
Sheet pans for compact ovens
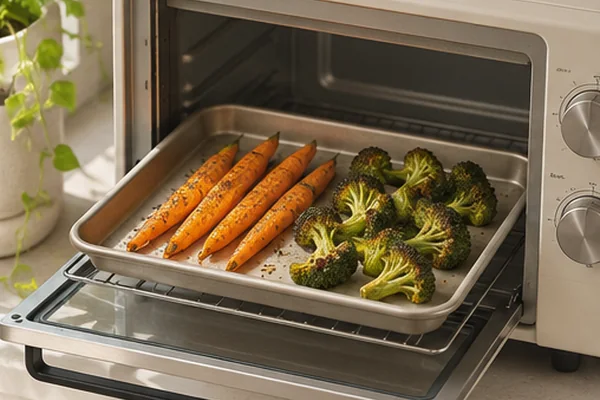
Check the oven manual for supported pan dimensions and clearance guidance. With the oven cool, measure the usable rack area and the opening it passes through. Compare those measurements against the pan's outside dimensions, including handles.
A smaller pan can be easier to lift and clean in a short sink. If you meal prep in batches, think about whether your oven can fit your preferred rack arrangement under the manufacturer's guidance.
Try it first. Look at the pan you use most and note how much of its surface you usually fill. Use that area to compare sizes and confirm the new pan will fit in your sink or dishwasher.
This quarter sheet includes a removable grid for small batches. Compare the pan’s outside rim with your oven manual’s supported pan size and check that it also fits in the sink.
I may earn a commission if you buy through this link.View on Amazon
A flat baking surface
USA Pan Nonstick Quarter Sheet Pan
The published outside size is 13 × 9.5 × 1 in. Compare that full rim with your rack and door opening, then check the oven manual’s clearance guidance.
I may earn a commission if you buy through this link.View on Amazon
A small baking pan plus matching bakeware
Chicago Metallic 4-Piece Toaster Oven Bakeware Set
The set includes a small sheet, rack, cake pan and muffin pan. Measure your toaster oven against the outside rim of the specific piece you plan to use.
I may earn a commission if you buy through this link.View on Amazon
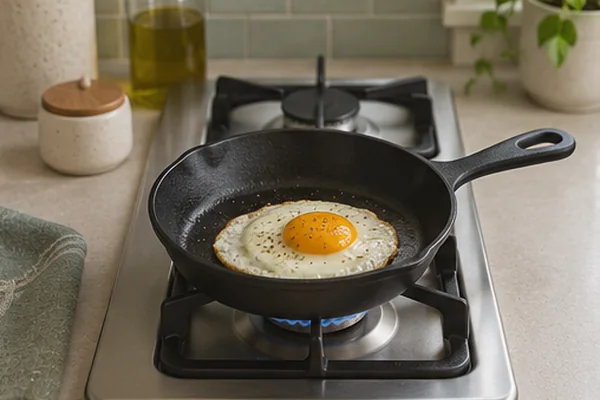
Measure the largest clear area around your usual burner and note how much room a second pan needs on a neighboring burner. Compare the skillet's base, rim, overall length, and handle shape.
A flared skillet gives you room to toss food but can have less flat cooking area than the rim width suggests. A shorter handle may fit a narrow cabinet more easily. Check weight with the lid and the type of cooktop your cookware supports.
Try it first. With the cooktop off, use your current pans to find the largest footprint you can position beside a second pan. Then rehearse taking the empty pan from its proposed storage spot.
The 8-in. skillet measures 12.75 in. long with the handle and weighs about 3.4 lb. Use the full length to check drawer clearance and room next to a second pan.
I may earn a commission if you buy through this link.View on Amazon
Single portions on a crowded stovetop
Lodge 6.5-Inch Seasoned Cast Iron Skillet
The smaller rim leaves more space for a second pan. Compare the cooking surface with the food you make most often, then measure the handle clearance.
I may earn a commission if you buy through this link.View on Amazon
Eggs and quick nonstick cooking
Tramontina Professional 8-Inch Nonstick Fry Pan
The aluminum pan has a longer handle. Check the full length against your cabinet and confirm compatibility with your cooktop before buying.
I may earn a commission if you buy through this link.View on Amazon
Measure before you order
Will it fit?
Use outside dimensions, including handles. Allow space to open doors, pull out trays, and reach the item.